What Is a Conditional (Trigger) Order and How Automation Uses It
You set up a strategy that should only act when the market reaches a specific level — buy if price breaks above resistance, or exit if it falls through support....
Read more
Leverage lives on the exchange, not in your TradingView alert. Here is how leverage settings for automated futures orders actually work, how to set them safely from an automated flow, and how to keep size and liquidation risk deliberate.

You have a working strategy on TradingView, alerts firing on schedule, and a relay pushing orders to your exchange. Then you notice the position size is nothing like what you expected. The usual cause is leverage. Getting the leverage settings for automated futures orders right is what separates a predictable system from one that surprises you at the worst moment, because leverage decides how much exposure a single order actually opens on the exchange.
This guide explains where futures leverage lives, how it interacts with automation coming from TradingView, and how to keep it deliberate rather than accidental. It is a process guide, not trading advice: leverage amplifies both losses and gains, and higher settings mean a smaller adverse move can liquidate a position.
The first thing to understand is that leverage usually is not part of your order at all. On most crypto futures venues, leverage is a per-symbol account setting you configure on the exchange, and it applies to every new position you open on that market until you change it. Your order specifies a side, a size, and a type. The exchange then applies whatever leverage the symbol is currently set to.
That means a TradingView alert typically cannot just say "use this multiplier" in the order payload the way it sets a symbol or side. The leverage is already decided before the order arrives. If you want your automation to change it, you have to make a separate call to the exchange's leverage endpoint first, then submit the order. Understanding this ordering is the whole game: set leverage, then trade.
If you are still deciding whether futures automation is even the right fit, spot vs futures automation walks through the trade-offs before you commit to margined positions.
Before setting a number, decide on margin mode, because it changes how leverage behaves.
Isolated margin ring-fences a fixed amount of collateral to a single position. If that position moves against you far enough, only the isolated margin is at risk, and the position liquidates without touching the rest of your balance. Leverage here controls the size of that one position relative to the margin you assigned.
Cross margin shares your whole futures balance across positions as collateral. It can prevent a premature liquidation on one position by drawing on your wider balance, but it also puts that wider balance at risk. Leverage in cross mode influences your overall exposure and liquidation math across everything open.
For automated systems, isolated margin is often easier to reason about, because each position's downside is bounded and predictable when a machine is opening positions around the clock.
There are three common patterns for handling leverage in an automated futures setup, and they trade convenience against control.
The set-and-forget approach means you configure leverage manually on the exchange for each symbol once, then never touch it from automation. Your alerts only ever send orders. This is the simplest and safest default: fewer moving parts, no risk of an automation step silently changing your exposure.
The per-strategy approach means each strategy owns a leverage level, and your relay sets that level on the exchange before placing the strategy's orders. This suits traders running several strategies on the same market with different risk profiles.
The dynamic approach means the leverage is computed from the alert itself, adjusted for volatility or conviction, and applied per order. This is the most flexible and by far the most dangerous to get wrong, because a bug in the calculation can open a position far larger than intended.
Whichever you choose, the sequence is the same: your relay reads the intended leverage, calls the exchange's dedicated leverage-setting endpoint for that symbol and margin mode, confirms the change succeeded, and only then submits the order. Skipping the confirmation step is how positions end up on last week's setting.
A frequent mistake is conflating leverage with order size. They are separate levers that combine into your real exposure. Leverage sets how much position a unit of margin can control; order size sets how many units you are asking for. Change one without accounting for the other and your notional exposure shifts underneath you.
Because of that coupling, it is worth standardizing how your alerts express size so leverage changes do not quietly distort it. How to control order size in TradingView webhook alerts covers sizing units and precision, and how to structure a TradingView webhook JSON payload for orders shows where a leverage or margin-mode hint belongs if you do drive it from the payload. Keeping size and leverage as explicit, separate fields makes the combined exposure auditable instead of a guess.
Because TradingView alerts send a text payload and nothing more, the leverage logic has to live downstream, in the relay layer between TradingView and your exchange. A clean flow looks like this:
This is exactly the kind of ordered, fail-closed sequence SignalToExchange is built to run. It accepts a consistent payload, handles the per-exchange leverage and order calls in the right order using trade-only API keys, and never has withdrawal access to your funds. Your collateral stays on your own exchange the entire time.
The leverage figure by itself tells you little. What actually matters is the liquidation price it implies for your position size and margin. Higher leverage moves the liquidation price closer to your entry, so a smaller adverse move wipes out the position; lower leverage pushes it further away.
For an automated system, this means your risk controls should reference the liquidation distance, not the leverage label. A useful habit is logging the intended leverage, the resulting position size, and the estimated liquidation price together for every order, so an unexpected setting is visible immediately rather than after a loss. Pairing this with a reduce-only order on exits keeps a closing signal from accidentally flipping you into a fresh leveraged position in the opposite direction.
Not in the order itself. Leverage is an exchange-side setting applied per symbol, so the alert cannot simply carry a multiplier the way it carries a side or size. If you want automation to change leverage, the relay between TradingView and the exchange has to call the exchange's leverage endpoint first, then place the order.
Many automated traders prefer isolated margin because it caps each position's downside to the collateral assigned to it, which makes liquidation risk easier to reason about when a system is opening positions unattended. Cross margin shares your whole balance as collateral, which can delay a liquidation but exposes more of your account. The right choice depends on your risk process, not on any promised outcome.
No. Leverage sets how much position a unit of margin can control, while your order size sets how many units you request. Real exposure is the combination of the two. Changing leverage without adjusting size shifts your notional exposure, which is why the two should be handled as separate, explicit decisions.
Then you trade at whatever leverage was previously set, which may be nothing like what you intended. A well-built relay treats the leverage call as a gate: if it fails, the order is not placed. That fail-closed behavior is what prevents opening a position at an unknown or stale setting.
Leverage is the setting that most often makes an automated futures position behave differently from what a trader expected, precisely because it lives on the exchange rather than in the alert. Decide your margin mode, set leverage before the order, confirm it landed, and keep size and leverage as separate, auditable decisions.
SignalToExchange runs that sequence for you: it takes one consistent payload from TradingView, applies the leverage and margin-mode settings on your chosen exchange in the correct order using trade-only keys, and submits the order only when everything checks out — all while your funds stay on your own exchange. Request access / start your free trial and let the relay handle the ordering so every futures order opens at exactly the leverage you meant.
Automated trading involves risk. SignalToExchange is execution infrastructure and does not provide financial advice, trading signals, or guarantees of any kind.

You set up a strategy that should only act when the market reaches a specific level — buy if price breaks above resistance, or exit if it falls through support....
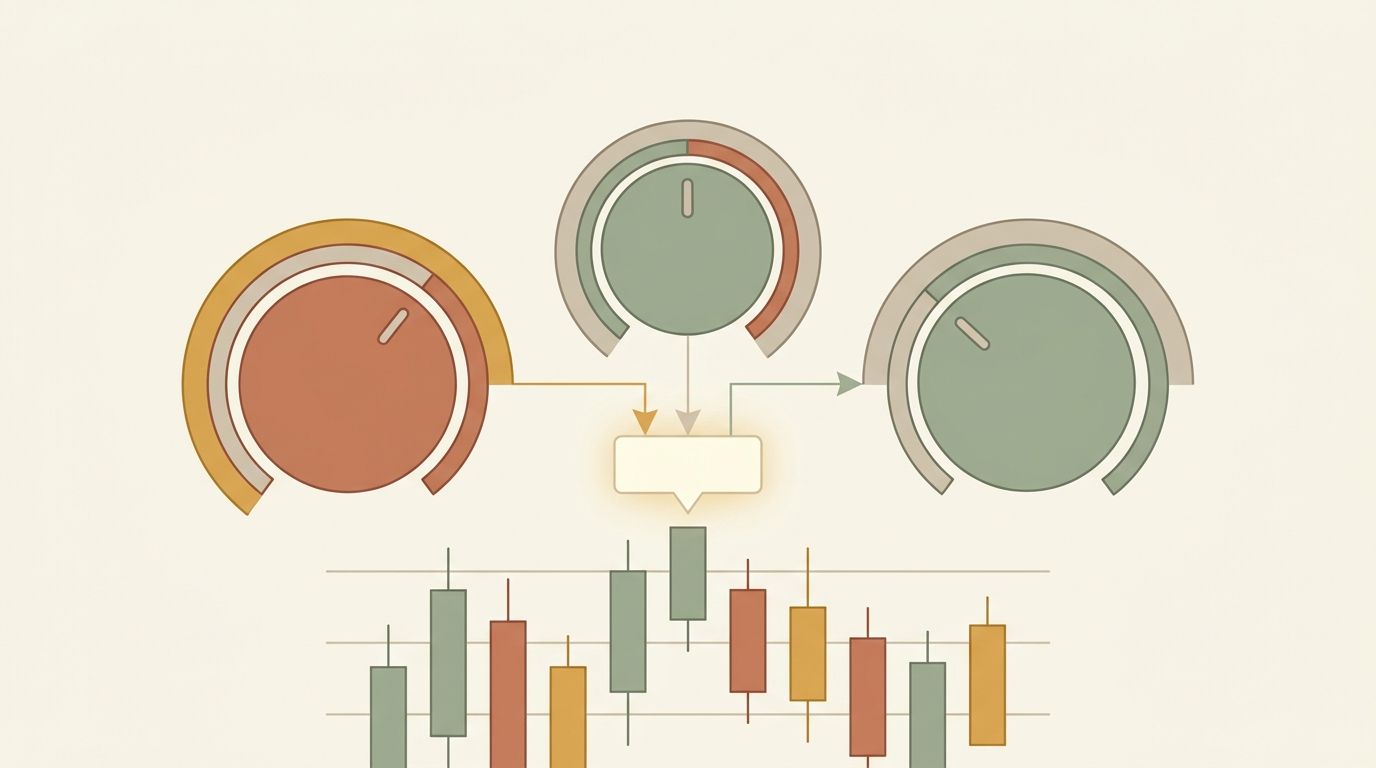
If you automate futures trading, you have probably noticed something confusing: your chart shows one price, but your position's liquidation level and profit-and...
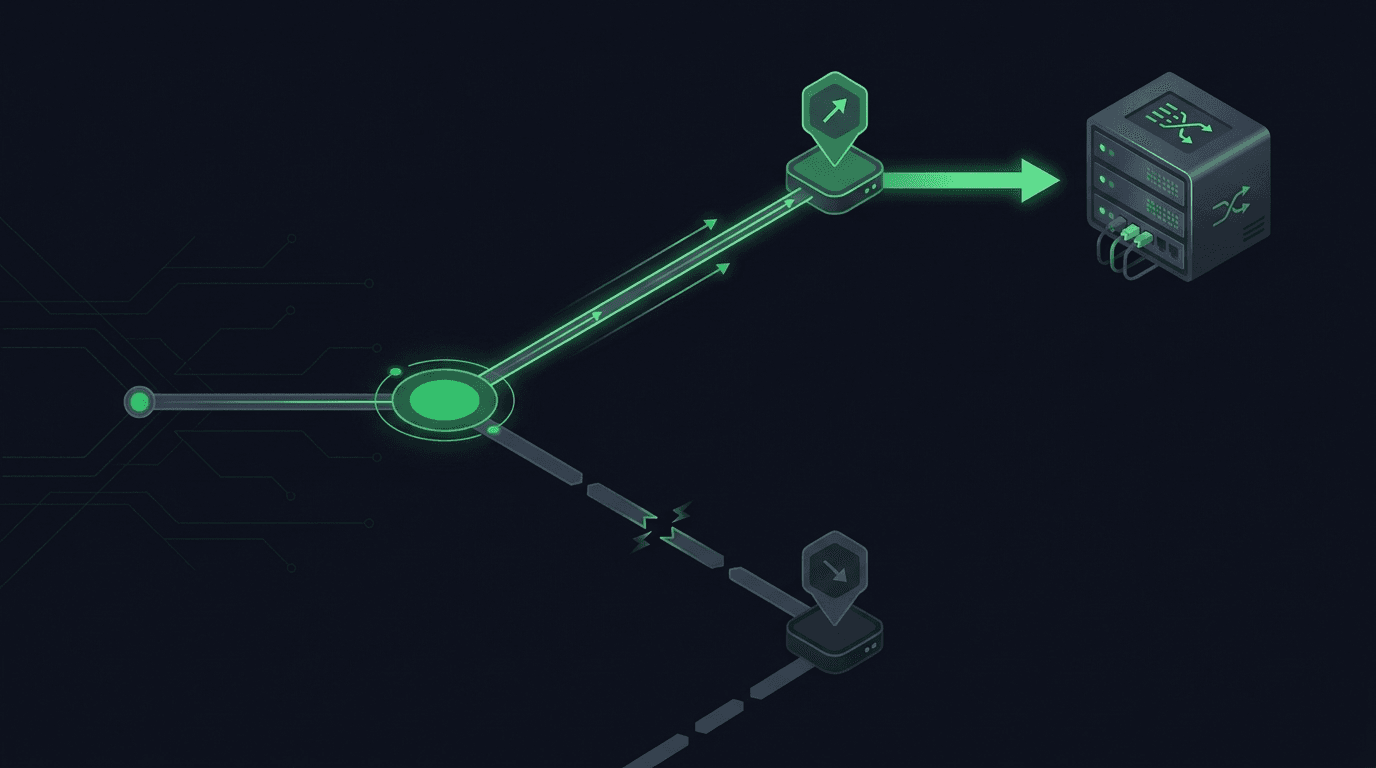
You set a take-profit and a stop-loss on the same position, walk away, and expect the exchange to close the trade at whichever level hits first. On most exchan...
Non-custodial execution. Trade-only API keys. Independent infrastructure built for reliability.
Request Early AccessTrade-only API key enforcement. No withdrawal permissions. No custody.