WebSocket vs REST APIs on Crypto Exchanges: What's the Difference
If you are wiring a strategy up to an exchange, one of the first technical forks you hit is WebSocket vs REST APIs on a crypto exchange. Both let your code talk...
Read more
Before you automate futures trading, understand how spot and futures execution differ. Leverage, liquidation, position direction, and order parameters change what a single signal does to your account.

You can wire the same TradingView alert to a spot buy or to a leveraged futures position, but the two are not the same trade. Before you automate futures trading, it's worth understanding exactly how spot and futures execution differ — because leverage, liquidation, and position direction change what a single signal actually does to your account. This guide explains the practical differences between spot and futures automation so you can reason about your own setup. It is not trading advice and recommends no strategy; the goal is to make the mechanics clear before you wire anything up.
On the spot market you buy or sell the actual asset. If a signal fires a buy, you end up holding the coin; to exit, you sell what you hold. There is no borrowing and no liquidation — the worst case for a position is that the asset's price falls. The order itself is simple: a symbol, a side (buy or sell), and a quantity.
A futures order is a contract, not the underlying asset. It lets you take a long or short position with leverage, meaning you control a larger position than your margin alone would buy. That introduces concepts spot trading doesn't have: margin, leverage multipliers, a position direction that can be short as well as long, and a liquidation price at which the exchange force-closes your position to cover the borrowed amount. Same signal, very different consequences.
Because a futures order carries more state, the automation has to carry more information. A spot order can often be expressed with three fields. A futures order frequently needs several more, and getting any of them wrong changes what the order does:
This is why the message your charting platform sends matters more for futures. Each field has to be present, correctly named, and consistent with how your exchange account is configured. Our guide on the TradingView alert message format for automated orders walks through how to structure these fields, and the broader signals vs execution explainer covers why an alert firing is only the first step toward a placed order.
On spot, exiting is just selling what you own. On futures, "closing" depends on direction: you close a long by selling and a short by buying, and you usually want a reduce-only flag so a closing order can't accidentally flip you into a new position in the opposite direction. Automations that ignore this can turn a single "exit" signal into an unintended open position. Mapping each signal to an explicit, unambiguous action is the difference between predictable automation and surprises.
Leverage amplifies the size of your position relative to your margin, which means price moves affect the position faster in both directions. If the market moves against a leveraged position far enough, it reaches the liquidation price and the exchange closes it automatically. This is a mechanical feature of how futures work, not a flaw in any tool — and it is the main reason futures automation deserves more care than spot. Automating the same signal at higher leverage doesn't change the signal; it changes how much a given price move does to your account. We're describing the mechanism here, not recommending a setting: the right configuration depends on your own risk tolerance and is yours to decide.
Whether you automate spot or futures, two things stay constant: every order is signed with an exchange API key, and a retried signal should never become two orders. One signal fires exactly one order. Our explainer on how idempotency keys prevent duplicate trades covers the mechanism — and it matters more under leverage, where a duplicate order has a larger effect.
Key handling is the same on both markets too. A dedicated trade-only key — the layer places orders, never withdrawals — keeps automation from becoming a custody risk. Withdrawal permission stays disabled at the exchange, your funds never leave the venue you already use, and you keep the kill switch by deleting the key whenever you choose. If you're deciding how much access to grant, see whether it's safe to give a trading bot your exchange API keys and our overview of why trade-only API keys matter and how to set them up.
SignalToExchange is the execution layer between your signals and your exchange. It receives your webhook, authenticates and validates it, formats the order — spot or futures, with the direction, leverage, and reduce-only fields your account expects — and submits it using a trade-only key that's encrypted at rest, with deduplication so one signal results in exactly one order. It is non-custodial: it never takes deposits or holds balances, and your funds never leave your exchange. To see the full path applied to a specific venue, start with our guide to connecting TradingView to Bybit or the general TradingView webhook to exchange setup guide.
If you already generate signals and want a secure, reliable way to turn them into exchange orders, Request access / start your free trial →
Automated trading involves risk. SignalToExchange is execution infrastructure and does not provide financial advice, trading signals, or guarantees of any kind.

If you are wiring a strategy up to an exchange, one of the first technical forks you hit is WebSocket vs REST APIs on a crypto exchange. Both let your code talk...

You send an order to buy one Bitcoin, and the exchange fills 0.4 of it. The rest sits open, or gets cancelled, or fills seconds later at a worse price. If your...
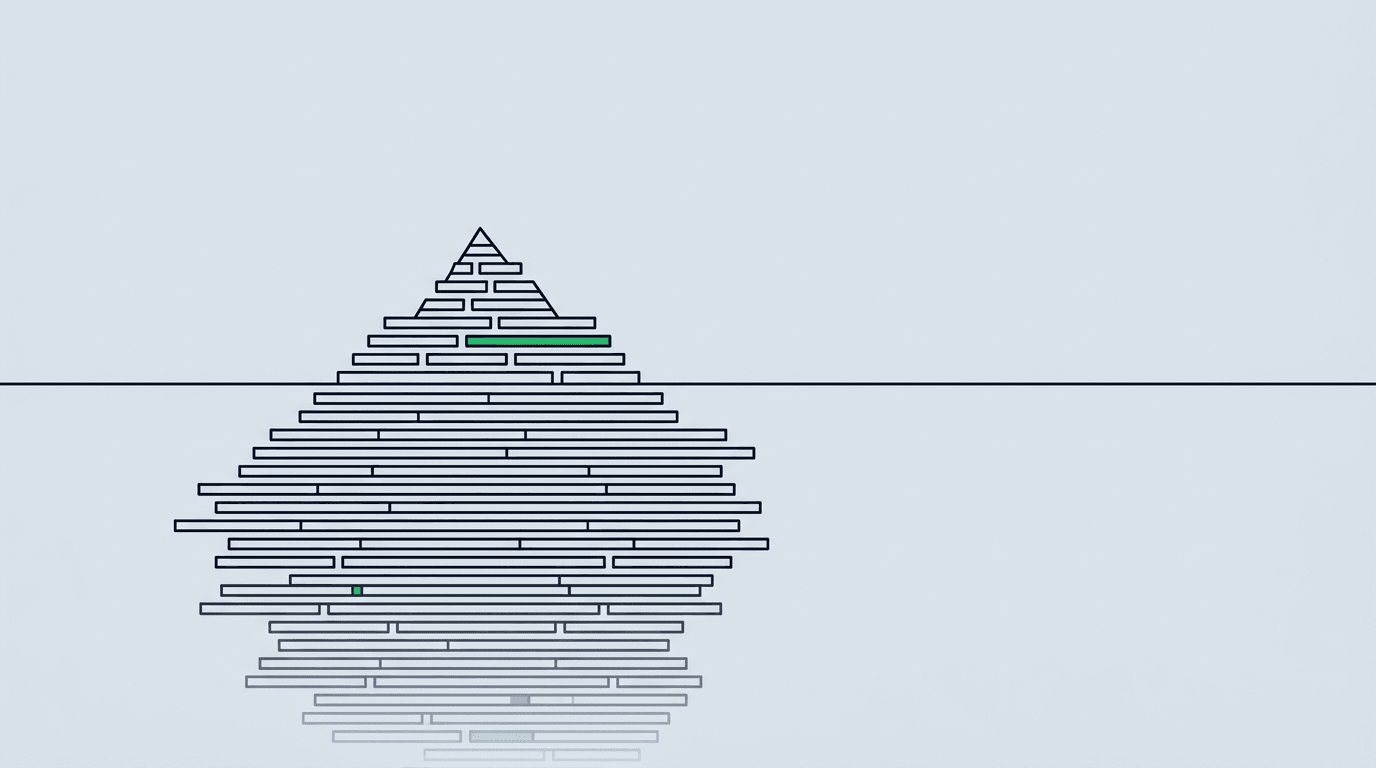
Watch a crypto order book long enough and you will see something odd. A price level shows only a modest amount of size, you send orders into it, and yet the le...
Non-custodial execution. Trade-only API keys. Independent infrastructure built for reliability.
Request Early AccessTrade-only API key enforcement. No withdrawal permissions. No custody.