How to Automate Trading on Bitfinex With TradingView Signals
You have a TradingView strategy that fires clean alerts, and you want to automate trading on Bitfinex with TradingView signals instead of clicking every entry...
Read more
TradingView fires the signal and Gate.io executes the order, but they do not talk to each other by default. Here is how to connect them with trade-only keys, a webhook alert, and a relay, then test before going live.

Setting up Gate.io TradingView automation means wiring one system to another: TradingView generates the signal, and Gate.io executes the order. On their own, a TradingView alert and a Gate.io account do not talk to each other. This guide walks through how to connect them so that when your strategy fires an alert, a matching order reaches your Gate.io account automatically, without you sitting at the screen and without handing over custody of your funds.
The focus here is the mechanics: what you need, how to create secure trade-only API keys on Gate.io, how to format a TradingView webhook alert, and how a relay layer carries the signal to the exchange. It is a setup guide, not trading advice. The strategy stays yours; this is about making the execution reliable.
TradingView is where many traders build, chart, and monitor strategies. When a condition is met, it can send a webhook alert, which is simply an HTTP request carrying a message you define. Gate.io is a crypto exchange whose API (APIv4) accepts orders programmatically. The catch is that TradingView cannot place a Gate.io order by itself, and Gate.io has no idea what your TradingView alert means.
The missing piece is a relay: something that receives TradingView's webhook, validates it, and translates it into a valid Gate.io order. So there are three moving parts. TradingView is the signal source, Gate.io is the execution venue, and the relay sits between them. If you are new to the idea, our explainer on what a trading webhook is covers the request that ties it all together, and the piece on signals versus execution explains why generating an idea and placing an order are two different jobs.
Before wiring anything up, make sure you have the following in place:
With those ready, the setup breaks down into four steps: secure your keys, build the alert, route it to the exchange, and test.
Security comes first, because your API keys are how any automation places orders. Scope them as tightly as possible. In your Gate.io account settings, create an APIv4 key and configure its permissions deliberately rather than accepting the defaults.
This is the heart of the non-custodial model: because the key is trade-only, your funds stay in your own Gate.io account the entire time. The automation can trade, but it can never withdraw. For a deeper walkthrough of scoping permissions correctly, see our guide on how to set up trade-only API keys.
In TradingView, an alert fires when your condition triggers. To automate execution, that alert needs two things: a webhook URL and a message the relay can parse.
Keep the message explicit and unambiguous. One alert should describe exactly one intended order, so there is no guesswork about what happens when it fires. If you want a reference for the full path from alert to filled order, our TradingView webhook to exchange guide shows how the message flows end to end.
When your alert fires, TradingView sends the message to the endpoint you configured. The relay then does the work of turning that message into a real order on Gate.io using your trade-only key.
Reliability is the whole point of this layer. A dropped or duplicated order in automated trading is worse than a manual mistake, because it happens without you watching. A good relay treats one signal as exactly one order and gives you a record of what it did.
Never point a brand-new setup straight at meaningful size. Prove the wiring works with the smallest stakes possible first.
Testing catches the boring problems, such as a malformed message, a wrong symbol, or a permission you forgot to enable, while they are still cheap to fix. Our checklist on how to test TradingView automation before going live walks through this in more detail.
Once the connection works, a few habits keep it dependable over time:
None of this changes your strategy. It just makes sure the execution layer behaves the way you expect, every time an alert fires.
SignalToExchange is a non-custodial webhook relay built for exactly this path. It receives your TradingView webhook, validates it, and submits the corresponding order to Gate.io using the trade-only API key you connect. Your funds never leave your exchange, the key has no withdrawal access, and each signal maps to a single order.
That separation is the point. You keep custody and you keep control of the logic; the relay simply carries the instruction to the exchange quickly and reliably. If you want to route your Gate.io orders this way, you can request access or start your free trial and connect a trade-only key to see how it works.
Gate.io does not natively receive TradingView webhooks, but its APIv4 accepts orders programmatically. The two are connected through a relay that listens for the TradingView alert and submits the matching order to Gate.io on your behalf.
For a basic webhook-to-relay setup, generally no. You configure a TradingView alert with a webhook URL and a structured message, and the relay handles the API call to Gate.io. More advanced or custom logic may involve some scripting, but the core connection is configuration, not programming.
Safety depends mostly on how you scope your API keys. A trade-only key with withdrawal disabled cannot move your funds, and adding an IP allowlist limits who can use it. Combined with a non-custodial relay that never holds your balance, this keeps your funds on your own exchange.
Commonly market and limit orders across spot and perpetual futures, depending on what the API and your relay support. Decide the order type in your strategy, describe it clearly in the alert message, and confirm during testing that the order that lands matches what you intended.
Connecting TradingView to Gate.io comes down to four steps: create trade-only API keys, build a webhook alert that describes one clear order, route that alert through a relay to the exchange, and test with small size before you scale. Get those right and your alerts turn into orders on Gate.io automatically, while your funds and your strategy stay firmly in your hands.
Ready to wire your signals to Gate.io without giving up custody? Request access or start your free trial to connect a trade-only key and see how your alerts become orders.
Automated trading involves risk. SignalToExchange is execution infrastructure and does not provide financial advice, trading signals, or guarantees of any kind.

You have a TradingView strategy that fires clean alerts, and you want to automate trading on Bitfinex with TradingView signals instead of clicking every entry...
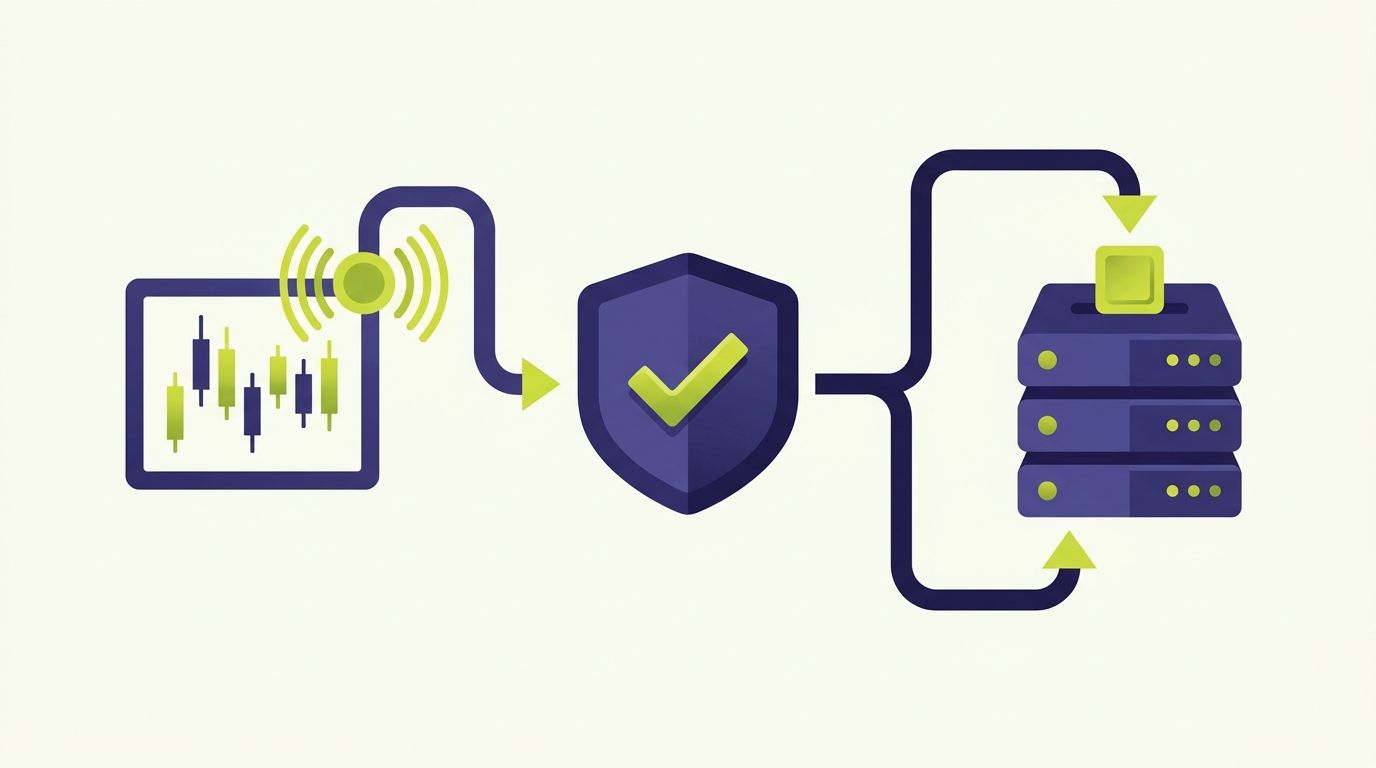
If you run strategies on TradingView and trade on HTX (Huobi), HTX Huobi TradingView automation closes the gap between the alert firing on your chart and the o...
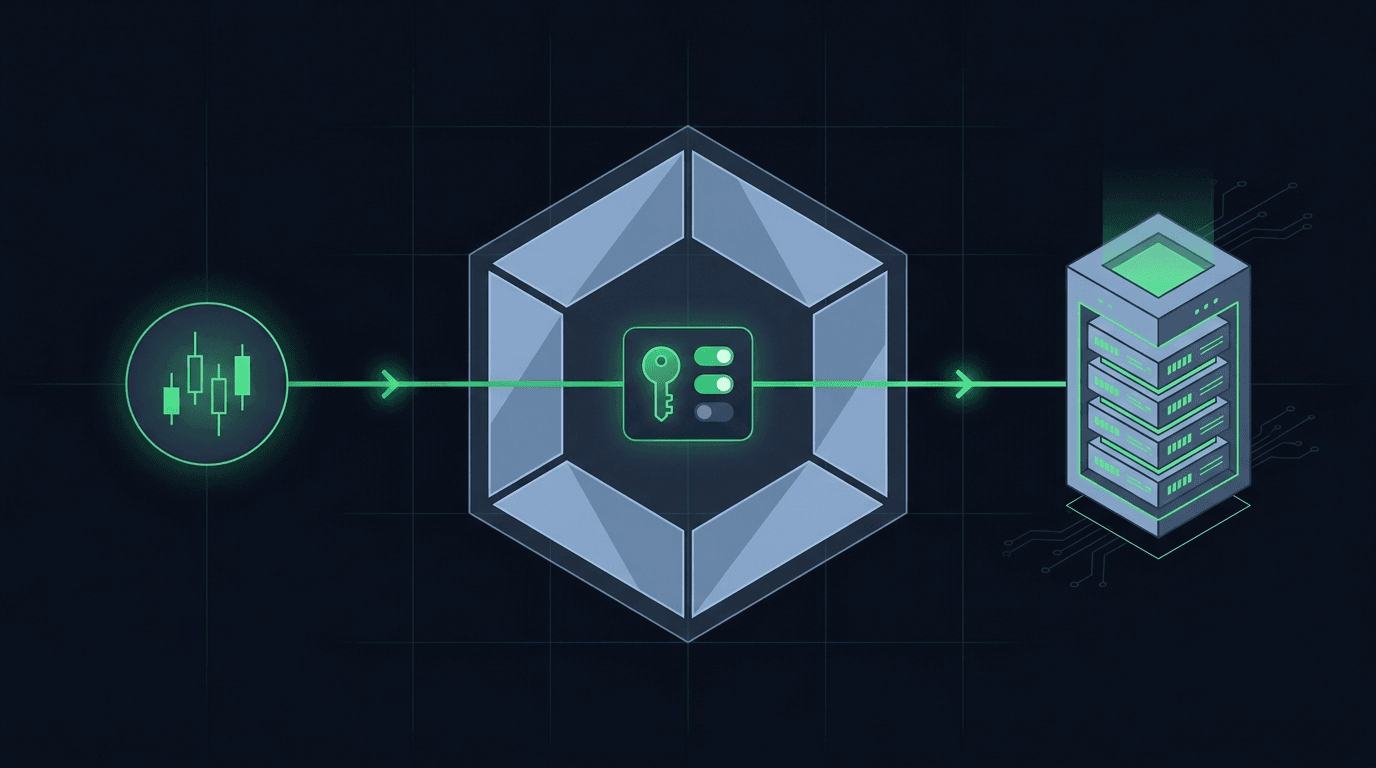
You have a TradingView strategy that fires clean alerts, and you want those alerts to place orders on Crypto.com without sitting at the screen all day. Crypto....
Non-custodial execution. Trade-only API keys. Independent infrastructure built for reliability.
Request Early AccessTrade-only API key enforcement. No withdrawal permissions. No custody.