How to Automate Trading on Bitfinex With TradingView Signals
You have a TradingView strategy that fires clean alerts, and you want to automate trading on Bitfinex with TradingView signals instead of clicking every entry...
Read more
A practical guide to Crypto.com TradingView automation: connect the Crypto.com Exchange API with trade-only keys, format your alert payload, and turn a TradingView signal into a live order without giving up custody of your funds.
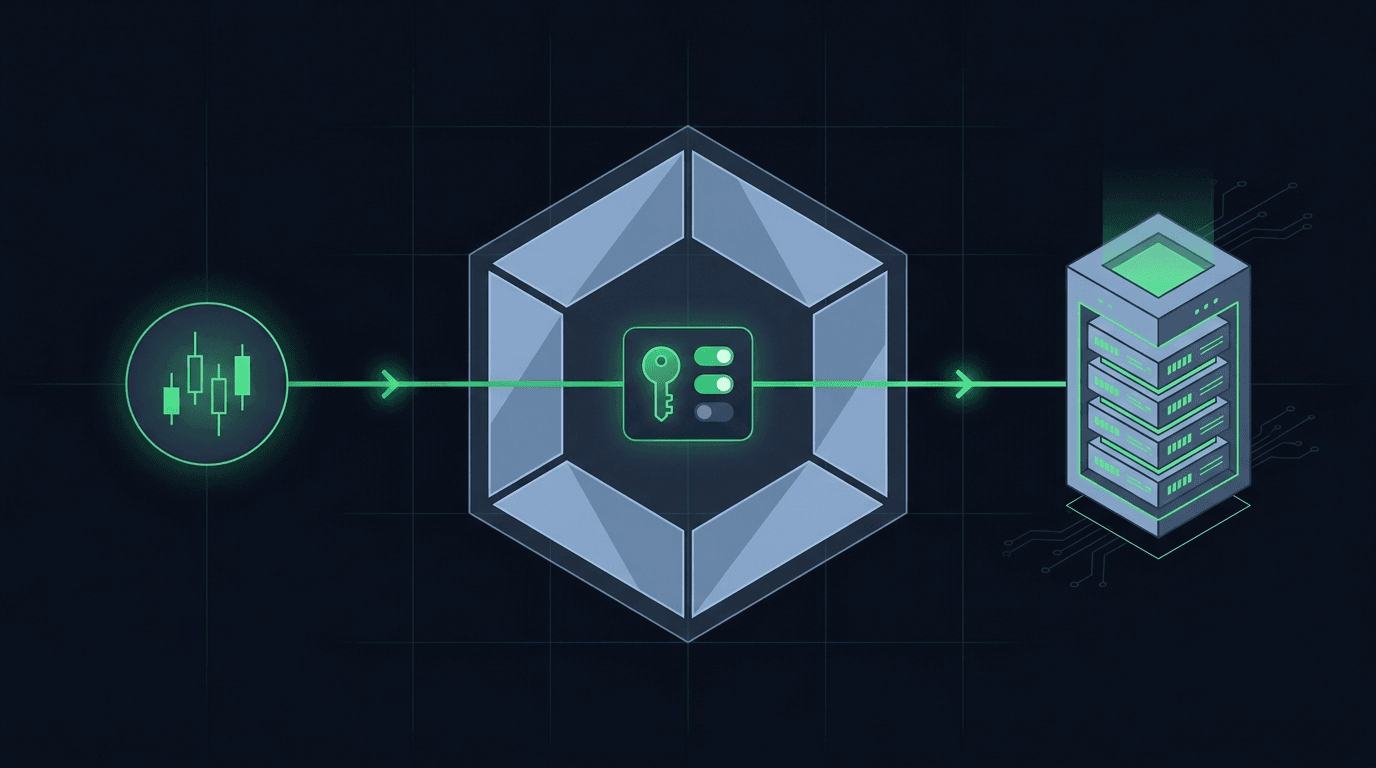
You have a TradingView strategy that fires clean alerts, and you want those alerts to place orders on Crypto.com without sitting at the screen all day. Crypto.com TradingView automation is very doable, but one distinction trips people up before they even start: the Crypto.com app you tap on your phone to buy coins is not the same product that exposes a trading API. Automated orders run through the Crypto.com Exchange, which offers a REST trading API and granular API keys. Get that part right and the rest is a straightforward pipeline — signal in, order out.
This guide covers the full path: what you can and cannot automate, how to create safe trade-only API keys, how to shape your TradingView alert so it maps to a real order, and how to keep it reliable once real funds are involved. Throughout, your coins stay on your own Crypto.com account — a relay never takes custody.
Crypto.com has two surfaces that matter here. The retail app is built for manual buying, selling, and card spending; it does not expose the programmatic trading API you need for automation. The Crypto.com Exchange is the trading venue with an order book, spot and derivatives markets, and a documented REST and WebSocket API. Automation targets the Exchange.
There you can place market and limit orders programmatically, cancel them, and read balances and fills. That is everything a TradingView-driven setup needs: an alert decides what to do, and the API turns that decision into a resting or immediate order. What you cannot do — and should never want an automation to do — is move funds off the exchange. That capability lives behind a separate permission you will deliberately leave switched off.
If the signal-to-order idea is new to you, the TradingView webhook to exchange guide lays out the end-to-end flow before you wire up a specific venue.
In the Crypto.com Exchange settings, open the API Keys section and create a new key. The screen lets you choose which permissions the key carries. Enable trading and reading; leave withdrawals disabled. This is the single most important choice in the entire setup.
A trade-only key can place and cancel orders and read your balances, but it physically cannot send coins to an external address. Even in the worst case — a leaked key — an attacker cannot drain your account. For the deeper reasoning on how permissions are scoped, read trade-only API keys and how to set them up and crypto exchange API key permissions explained.
When the key is generated, copy the API key and secret immediately — the secret is shown once — and store them somewhere safe. If Crypto.com offers an IP allowlist for the key, use it and restrict the key to the address your automation calls from. That narrows the blast radius even further.
A TradingView alert cannot call the Crypto.com API on its own. TradingView can only send a webhook — an HTTP POST to a URL — when your alert fires. Something has to receive that webhook, authenticate to Crypto.com, and submit the order. That something is the relay layer.
You have two ways to run it. You can self-host: stand up a small server that receives the webhook, signs Crypto.com API requests, handles retries, and logs results — full control, but you own the uptime, the signing logic, and the edge cases. Or you use a hosted relay, so you paste your trade-only key once and point TradingView at a webhook URL. SignalToExchange is that relay layer: it holds your encrypted trade-only key, receives the TradingView alert, and submits the Crypto.com order for you, with your funds never leaving the exchange.
Either way, the relay is where your API secret lives, so treat it as sensitive infrastructure: encrypted storage, no secret logging, and IP restrictions are the baseline.
The alert message is the contract between your strategy and the exchange. TradingView sends whatever text you put in the alert's message box, so it needs to carry every field the relay must know: the action (buy or sell), the market symbol, the size, and the order type.
A clean JSON payload is the most reliable format — an `action`, a `symbol` that matches Crypto.com's market naming, a `quantity`, and an `orderType`. Keeping the field names stable and the values explicit means the relay never has to guess. For the exact structure and common mistakes, follow how to structure a TradingView webhook JSON payload for orders and the worked examples in TradingView alert message format for automated orders.
That order type field matters more than it looks. Market orders fill fast but at whatever price the book offers, which can mean slippage in thin conditions; limit orders give you price control but may not fill if price moves away. Decide deliberately per strategy and encode the choice in the payload rather than letting the relay default — market vs limit orders in automated trading covers when each is appropriate. One venue detail: confirm the exact symbol string the Exchange expects for your market, because it may differ from the display name on the TradingView chart.
Never point a fresh automation at full size. Wire the whole path — TradingView alert, webhook, relay, Crypto.com order — and fire it with the smallest quantity the market allows. Watch the order appear on the exchange, confirm the fill, and check that the size and side match what the alert intended.
Only once you have seen several clean round trips should you raise size. Proving the pipeline end to end with tiny orders separates a reliable setup from one that surprises you later. Testnet vs live: how to safely move automation to real funds walks through staging this transition.
Real trading APIs reject orders sometimes: insufficient balance, a rate limit, a momentary network blip, a market that is briefly unavailable. A robust setup expects this. The relay should retry transient failures with sane timeouts, avoid resubmitting an order that already succeeded, and surface a clear error when something genuinely cannot be placed rather than failing silently.
Silent failures are the dangerous ones — the alert fires, nothing lands on Crypto.com, and you find out only when the trade you thought was open never existed. Building in confirmation and retry logic closes that gap; how to handle failed and rejected orders in a trading bot details the patterns.
You need the Crypto.com Exchange. The main Crypto.com app is built for manual buying and card spending and does not expose the programmatic trading API that automation requires. The Exchange is the venue with an order book and a documented REST API, so that is where TradingView-driven orders are placed.
No. Order placement only needs trading permission. Create the API key with trading and reading enabled and withdrawals disabled. A trade-only key can open and close positions but cannot move coins off your account, so your funds stay in your own Crypto.com balance the entire time.
The relay should catch the rejection, retry if the cause is transient, and report a clear error otherwise. The goal is to never fail silently. If the relay simply drops a rejected order, you would believe a position exists when it does not — which is exactly the failure mode good retry and confirmation logic is designed to prevent.
No. Automation removes the manual, emotional part of pressing the button; it does not remove market risk. Prices still move against positions, and a strategy that loses manually will lose when automated. Automation makes execution consistent — it does not change whether the underlying idea is sound.
Automating Crypto.com comes down to a few honest steps: use the Exchange rather than the app, create a trade-only key with withdrawals off, format your TradingView alert so it maps cleanly to an order, and prove the whole path on tiny size before you scale. Do that and every alert becomes a reliable order instead of a notification you have to act on manually.
SignalToExchange handles the relay layer of that pipeline — it receives your TradingView signal and submits the Crypto.com order using your encrypted trade-only key, so your coins never leave your exchange. Request access / start your free trial and put your Crypto.com automation on infrastructure built to place exactly one order per signal.
Automated trading involves risk. SignalToExchange is execution infrastructure and does not provide financial advice, trading signals, or guarantees of any kind.

You have a TradingView strategy that fires clean alerts, and you want to automate trading on Bitfinex with TradingView signals instead of clicking every entry...
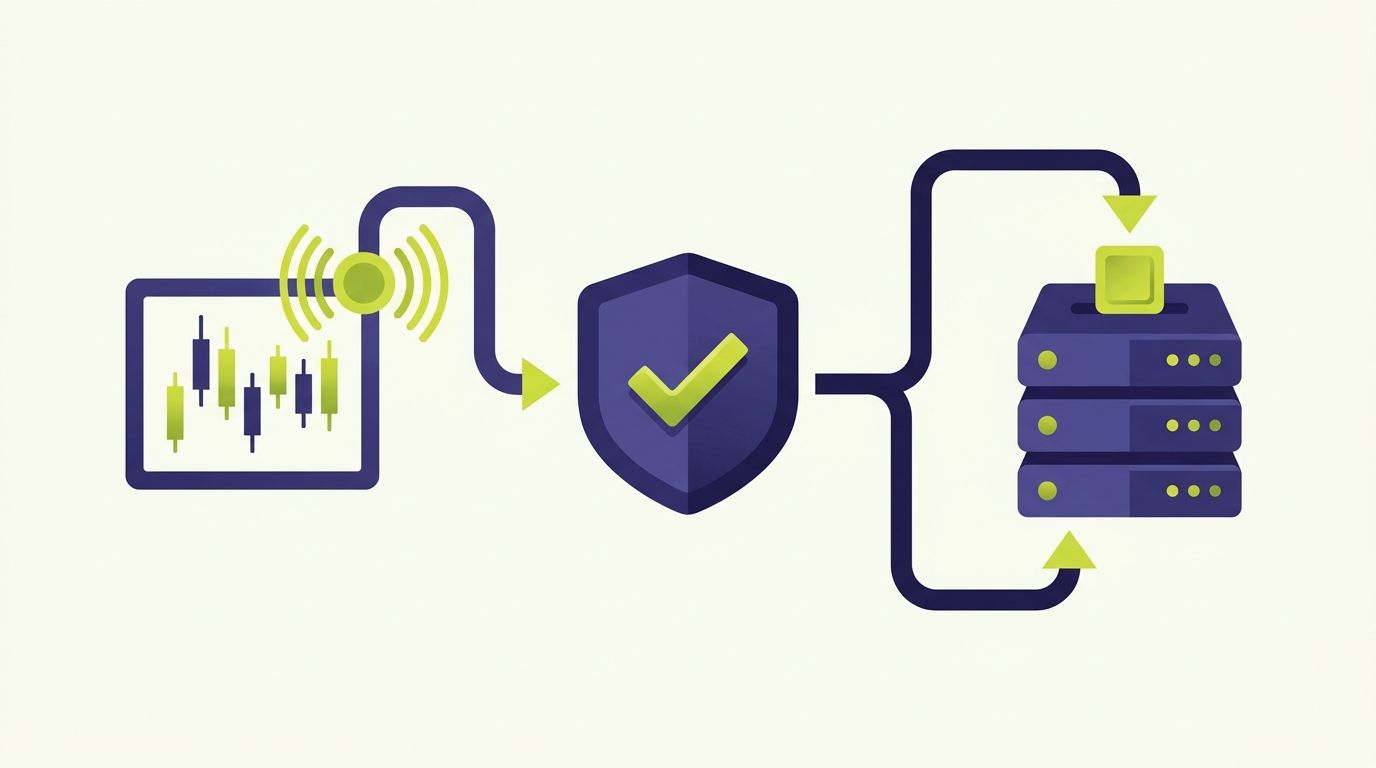
If you run strategies on TradingView and trade on HTX (Huobi), HTX Huobi TradingView automation closes the gap between the alert firing on your chart and the o...

You built a strategy on TradingView. The alerts fire on schedule, your Pine Script logic is solid, and the chart lights up exactly when it should. Then nothing...
Non-custodial execution. Trade-only API keys. Independent infrastructure built for reliability.
Request Early AccessTrade-only API key enforcement. No withdrawal permissions. No custody.