How to Automate a DCA Strategy From TradingView Webhook Alerts
If you run a DCA strategy, TradingView webhook alerts can execute it for you so you are not logging in to place the same buy over and over. Dollar-cost averagi...
Read more
Test a TradingView webhook locally with ngrok before you go live: run a small receiver, open a tunnel, fire a test alert, and inspect the exact payload — a safe development loop with no exchange orders involved.
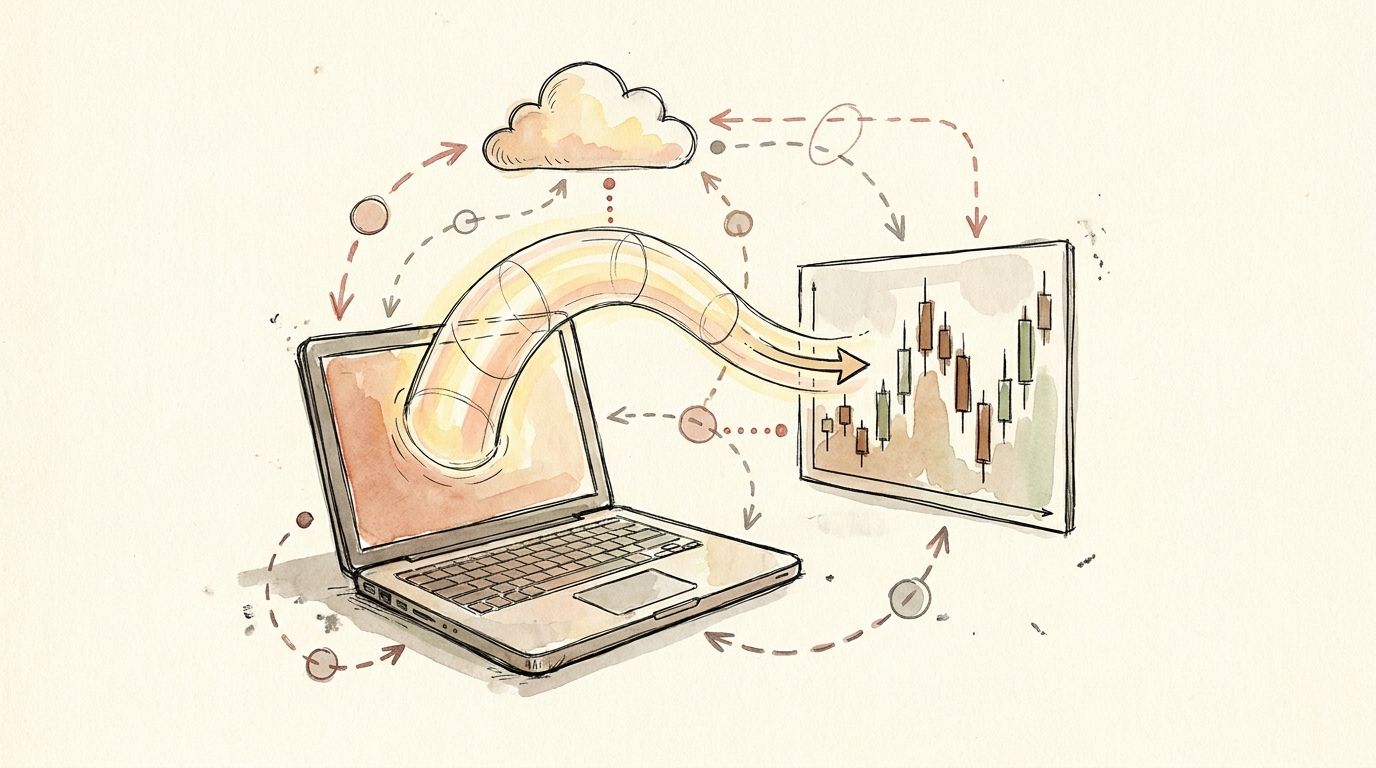
A TradingView alert can fire perfectly and still place no trade — because the webhook never reached a working receiver. Before you point live alerts at anything that touches real funds, it pays to test a TradingView webhook locally with ngrok, so you can watch each request arrive, inspect its payload, and fix problems on your own machine instead of debugging blind in the market. ngrok gives a server running on your laptop a public HTTPS URL that TradingView can call, turning webhook testing into a fast, visible feedback loop.
This guide walks the whole loop: run a small local receiver, expose it with an ngrok tunnel, point a TradingView alert at it, fire a test, and read what came through — a safe development workflow with no exchange orders involved.
TradingView will only send webhook requests to a public HTTPS URL. That is a problem when the code you are still writing lives on `localhost`, which the outside world cannot reach. You could deploy to a server on every change, but that is slow and turns your production endpoint into a scratchpad.
Local testing with a tunnel fixes both problems. You keep editing on your machine with your normal debugger and logs, while ngrok forwards real TradingView traffic straight to it. You see the exact HTTP method, headers, and JSON body TradingView sends — not what the docs say it should send — and catch payload mistakes in seconds. Nothing talks to an exchange yet, so a malformed alert costs you nothing but a corrected line of code.
You need three things: a TradingView account on a plan that allows webhook alerts, a way to run a tiny web server locally (Node.js or Python both work), and ngrok installed and authenticated. Create a free ngrok account, install the CLI, and run `ngrok config add-authtoken
It also helps to know what your alert message will look like. If you have not settled that yet, our guide on how to structure a TradingView webhook JSON payload for orders covers a clean, parseable shape you can reuse here.
Start with the smallest possible server that accepts a POST request and prints the body. In Node.js with Express:
```javascript const express = require("express"); const app = express(); app.use(express.json());
app.post("/webhook", (req, res) => { console.log("Headers:", req.headers); console.log("Body:", JSON.stringify(req.body, null, 2)); res.sendStatus(200); });
app.listen(3000, () => console.log("Listening on http://localhost:3000")); ```
The equivalent in Python with Flask is just as short. The only job at this stage is to prove a request reached you and log everything about it. Return `200` for a clean acknowledgement, then confirm the console says it is listening on port `3000`.
With the server running, open a second terminal and start a tunnel to the same port:
```bash ngrok http 3000 ```
ngrok prints a public forwarding URL that looks like `https://a1b2c3d4.ngrok-free.app`. Any request to that URL is forwarded to `http://localhost:3000` on your machine. Your public webhook endpoint is therefore the forwarding URL plus your route — for example `https://a1b2c3d4.ngrok-free.app/webhook`.
ngrok also runs a local inspection dashboard at `http://127.0.0.1:4040`. Keep it open in a browser tab: it records every request, shows the full body and headers, and lets you replay a captured request with one click — re-firing a real TradingView payload at your code without touching TradingView.
In TradingView, create or edit an alert, open the Notifications tab, and enable Webhook URL. Paste your ngrok endpoint (`https://a1b2c3d4.ngrok-free.app/webhook`) into the field. In the alert Message box, put the JSON body you want to receive, for example:
```json { "action": "buy", "symbol": "BTCUSDT", "price": {{close}}, "test": true } ```
The `{{close}}` placeholder is a TradingView variable that gets replaced with the live price when the alert fires. Adding a `"test": true` field is a simple habit that lets your receiver ignore anything it should not act on. If you have not created an alert with a webhook before, how to send a webhook from TradingView walks through the alert dialog step by step.
You do not have to wait for market conditions. Set the alert condition to something already true, or use TradingView's test-notification option, so the webhook fires immediately. When it does, three things should happen: your server console logs the headers and body, the ngrok dashboard at `:4040` shows a new `POST /webhook` entry with a `200` response, and the JSON you typed in the alert appears in your logs with `{{close}}` replaced by a real number.
Read the body carefully. Confirm the field names match what your parser expects, that numeric fields are numbers and not strings, and that `symbol` is in the exact format your exchange integration needs. This is also the place to add signature verification: if you sign requests, generate the signature in your alert workflow and check it in the receiver before trusting the payload — our walkthrough on securing a TradingView webhook with HMAC signing shows how.
A handful of issues account for most failed local tests, and each has a quick tell:
Because the ngrok dashboard keeps a history, you can fix your code and hit Replay on the last captured request instead of re-triggering the alert each time — the single feature that makes the whole loop fast.
ngrok is a testing tool, not a place to run production. It proves your receiver reads TradingView payloads correctly; it is not built to accept live trading traffic reliably around the clock. Once local tests pass, the next question is where that validated request turns into an order — and doing that yourself means hosting an always-on receiver, handling retries and failures, and protecting your API keys.
That execution layer is exactly what a non-custodial relay handles for you. SignalToExchange receives your validated webhook, checks it, and submits the order to your exchange using trade-only API keys with no withdrawal access, so your funds never leave the exchange you already use. The ngrok loop confirms your signal is well-formed; a relay is how that signal reaches the exchange quickly and predictably without you running servers. When you are ready to move from a local test to real automation, request access / start your free trial. For a broader pre-launch checklist, see how to test your TradingView automation before going live.
For local development it is fine, and it is widely used for exactly this. Treat the tunnel as temporary and public: anyone with the URL can reach your receiver, so only expose a test server, add signature verification, and shut the tunnel down when you finish. Do not use a free ngrok tunnel as a permanent production endpoint.
No. The free tier is enough to receive and inspect TradingView requests. The main limitation is that your public URL changes each time you restart ngrok, so you re-paste it into the alert. A paid plan adds reserved domains that stay constant, which is convenient but not required for testing.
The usual causes are a wrong route in the alert URL, a missing JSON body parser on your server, or your handler throwing an exception. Open the ngrok dashboard at `127.0.0.1:4040` to see the exact request and status code, then check your own server logs for the matching error.
Yes. Set the alert condition to something already true, or use TradingView's test-notification option, so the webhook fires on demand. You can also replay a previously captured request straight from the ngrok dashboard, which is faster than re-triggering the alert.
Automated trading involves risk. SignalToExchange is execution infrastructure and does not provide financial advice, trading signals, or guarantees of any kind.
If you run a DCA strategy, TradingView webhook alerts can execute it for you so you are not logging in to place the same buy over and over. Dollar-cost averagi...
A trailing stop is one of the most requested features in TradingView webhook automation, and also one of the easiest to get wrong. The idea is simple: as price...
Most automation guides focus on how to open a trade. Far fewer explain how to cancel an open order using a TradingView webhook, and that gap causes real proble...
Non-custodial execution. Trade-only API keys. Independent infrastructure built for reliability.
Request Early AccessTrade-only API key enforcement. No withdrawal permissions. No custody.