How to Automate TradingView Alerts With Zapier
Your TradingView strategy fires a clean alert at exactly the right moment — and then nothing happens on your exchange. If that gap between signal and execution...
Read more
TradingView fires the entry, but the exit is what protects the trade. Here is how to attach a stop-loss and take-profit to automated TradingView orders — where the exit logic should live, and how to keep it reliable with reduce-only, exchange-native brackets.
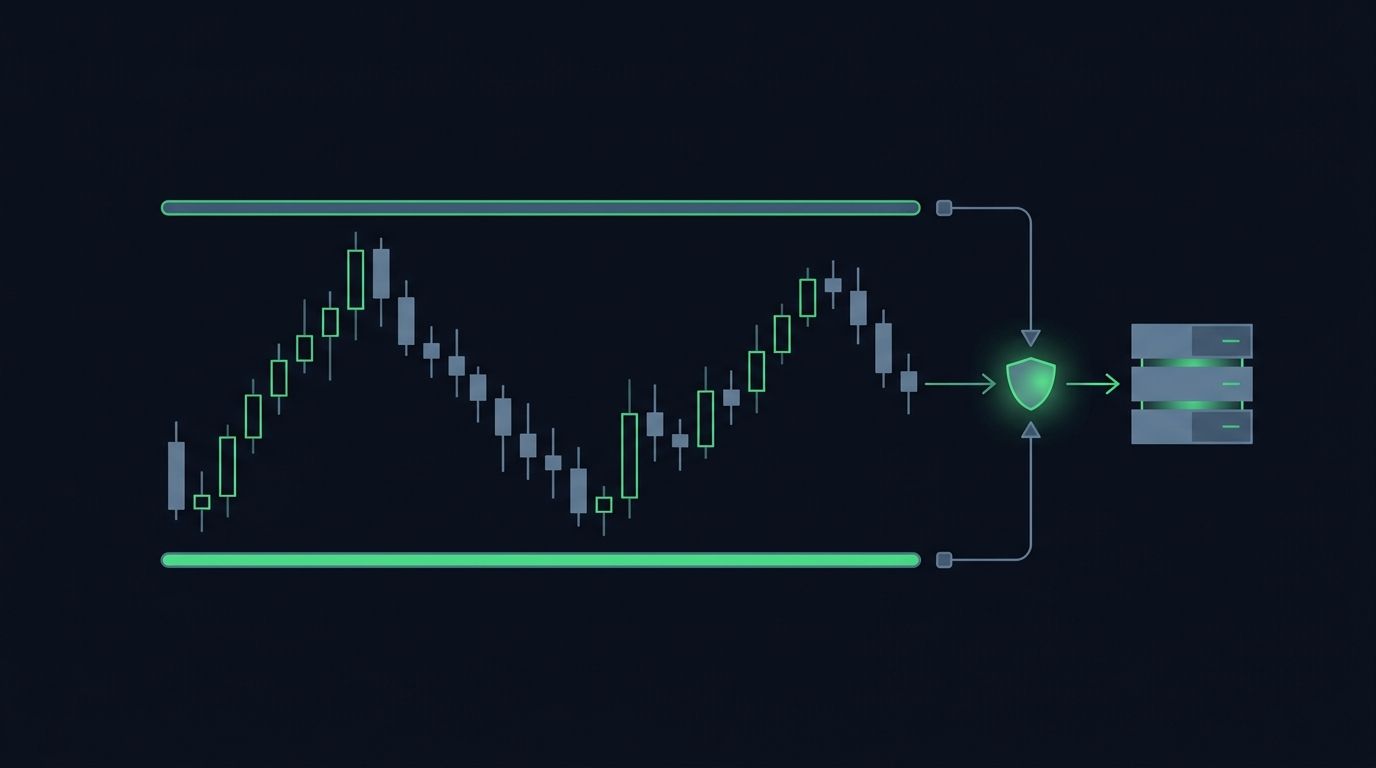
Getting an entry filled from a TradingView alert is the easy part. The harder part — the part that actually protects a position — is the exit. TradingView stop-loss and take-profit automation is where a lot of setups quietly fall apart: the entry fires, the order lands on the exchange, and then nothing is watching the trade. If price runs the wrong way, there is no bracket to cap the loss. If it runs the right way, there is no resting order to lock in the move.
This guide covers the practical ways to attach a stop-loss (SL) and take-profit (TP) to orders that originate from a TradingView alert, where the exit logic should live, and how to keep it reliable when fills are partial or a position flips direction. The goal is simple: one signal in, a fully protected position out — with your funds staying on your own exchange the whole time.
A stop-loss is a resting instruction to exit a position once price reaches a level worse than your entry, capping how far a losing trade can travel. A take-profit is the mirror: a resting instruction to exit once price reaches a level better than your entry. Together they form a bracket around an open position.
On most exchanges these exits are expressed as conditional or trigger orders: a stop order that becomes a market or limit order when a trigger price is touched, and a take-profit order that does the same at your target. When both are attached to one position and cancelling one cancels the other, that pairing is called an OCO (one-cancels-the-other) order. The key property for automation is that these exits are reduce-only — they can only close or shrink the position, never open a new one in the opposite direction.
If you are still deciding whether your entries and exits should be market or limit orders, it is worth reading market vs limit orders in automated trading first, because that choice shapes how your SL and TP behave when they trigger.
There are three places the SL/TP decision can be made, and picking the right one is most of the battle:
The most robust setups push the resting exit orders all the way down to the exchange. That way, even if TradingView, your internet connection, or the relay has a hiccup, the exchange is still holding your stop. The relay's job is to translate your alert into those exchange-native orders reliably. Below are the three methods, from simplest to most resilient.
The most direct approach is to calculate the stop and target inside your TradingView alert and pass them as fields in the webhook JSON. A payload might carry an action, a symbol, a size, and two extra numbers: `stopLoss` and `takeProfit`.
The relay reads those fields, submits the entry order, and immediately places the matching reduce-only stop and take-profit on the exchange. This keeps all the math in one place — your strategy — and makes every exit explicit and auditable.
To get the field structure right, follow how to structure a TradingView webhook JSON payload for orders. The same discipline that keeps your entry fields clean keeps your exit fields clean.
If your Pine Script strategy already models exits with `strategy.exit()`, you can let it emit its own exit alerts. The entry alert opens the position; a later alert — fired when the strategy's own stop or target condition is met — sends the closing instruction.
This method is flexible for trailing logic and multi-stage exits, but it has a hard dependency: TradingView has to be online and evaluating the chart at the moment the exit condition is met. If the alert is missed or delayed, the exit is late. For that reason, separate exit alerts pair best with a resting exchange-side stop as a floor, so a missed alert never leaves a position completely unguarded.
The most resilient pattern is to have the relay place the entry and, on fill, attach an exchange-native bracket: a reduce-only stop and a reduce-only take-profit that live on the exchange itself. Once they are resting, nothing needs to stay online. The exchange enforces them.
This is the approach to prefer for unattended automation. It also handles the ugly edge cases better — if the exchange rejects the stop, the relay can retry or surface the error rather than silently leaving the trade naked. Reliable order handling matters here; see how to handle failed and rejected orders in a trading bot for the retry and confirmation patterns that keep exits from slipping through the cracks.
Real automation has to survive messy fills. A few rules keep SL/TP correct:
Sizing is closely tied to this — if you are not already controlling quantity precisely, read how to control order size in TradingView webhook alerts so your exits always match your entries.
Prefer the exchange. A resting stop on the exchange fires even if TradingView, your connection, or the relay is offline. Use TradingView-side logic to decide the levels, but push the actual resting order down to the exchange so nothing has to stay online to protect the trade.
Size the exit to the quantity that actually filled, not the amount you requested. A well-built relay reads the fill back from the exchange before placing the bracket, so the stop and take-profit cover the real position rather than an assumed one.
No. Placing and cancelling orders only requires trade permission. Keep your keys trade-only with withdrawal disabled — the automation never needs to move funds off your exchange, and your funds stay in your own account the entire time.
Yes, but trailing usually depends on ongoing evaluation. If your strategy trails the stop with repeated alerts, keep a resting exchange-side stop underneath it as a floor, so a missed update never leaves the position unprotected.
Automating entries is satisfying, but the exit is what actually manages risk. The durable pattern is consistent: decide your stop and target in TradingView, pass them explicitly, and let the resting bracket live on the exchange as reduce-only orders that survive whatever goes offline.
SignalToExchange is built for exactly this — it takes your TradingView signal, submits the entry, and attaches the reduce-only stop and take-profit on your exchange using trade-only keys, so your funds never leave your account. Request access / start your free trial and put your exits behind infrastructure designed to keep every position bracketed.
Automated trading involves risk. SignalToExchange is execution infrastructure and does not provide financial advice, trading signals, or guarantees of any kind.
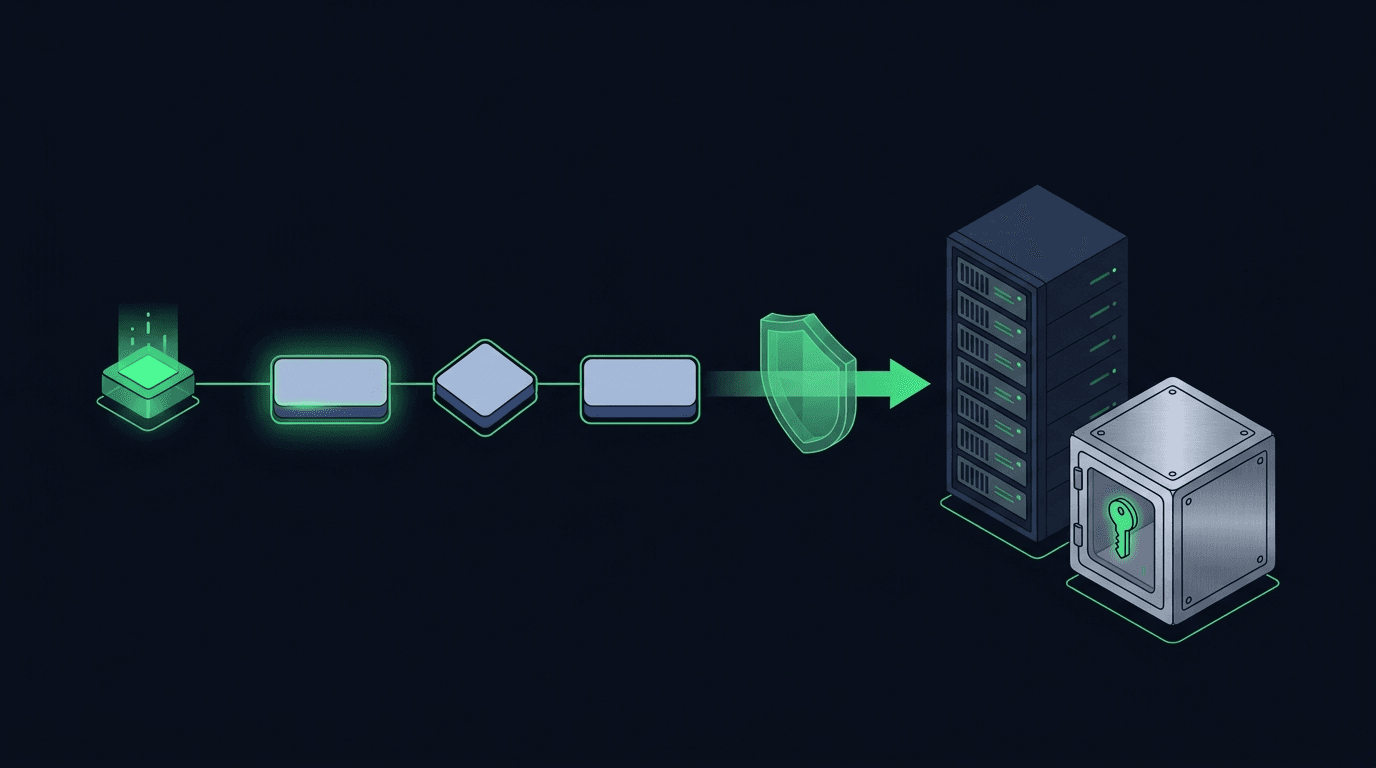
Your TradingView strategy fires a clean alert at exactly the right moment — and then nothing happens on your exchange. If that gap between signal and execution...
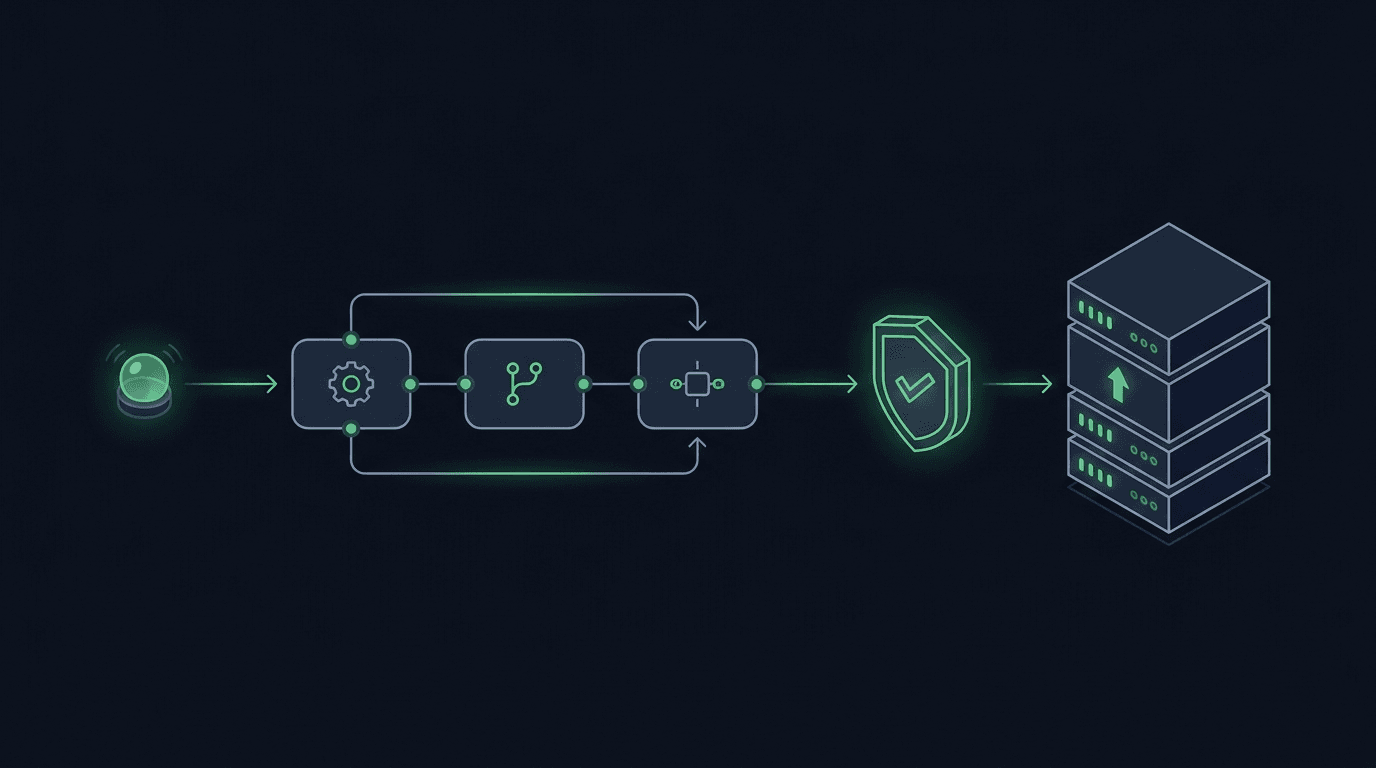
You have a TradingView strategy that fires clean alerts, but every signal still waits on you to see the notification and place the order by hand. By the time y...
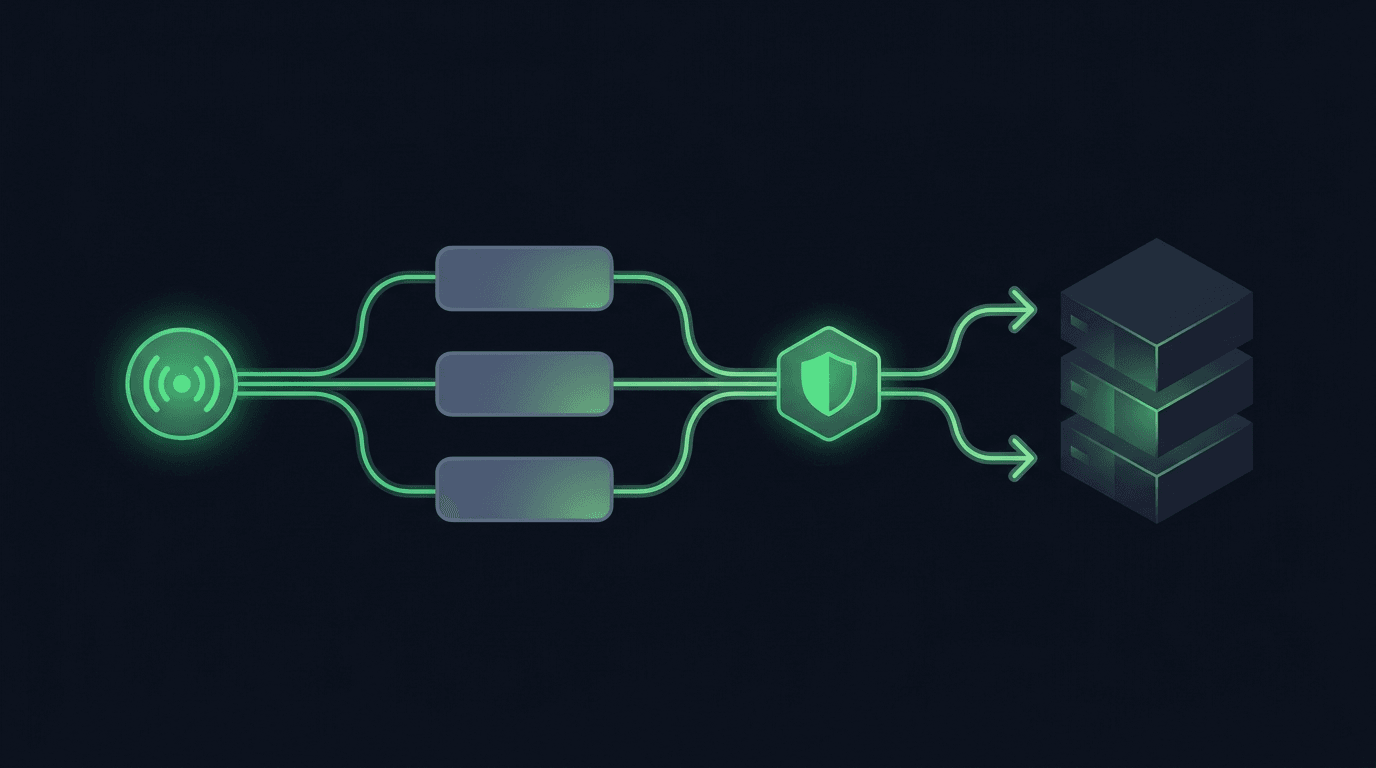
TradingView is where many traders build their edge, but a chart alert that only pops up on your screen still leaves the hardest part — placing the order — up t...
Non-custodial execution. Trade-only API keys. Independent infrastructure built for reliability.
Request Early AccessTrade-only API key enforcement. No withdrawal permissions. No custody.