How to Automate a DCA Strategy From TradingView Webhook Alerts
If you run a DCA strategy, TradingView webhook alerts can execute it for you so you are not logging in to place the same buy over and over. Dollar-cost averagi...
Read more
A clear, step-by-step TradingView webhook setup guide: how to enable webhook alerts, paste your destination URL, format the message payload, and test it safely.
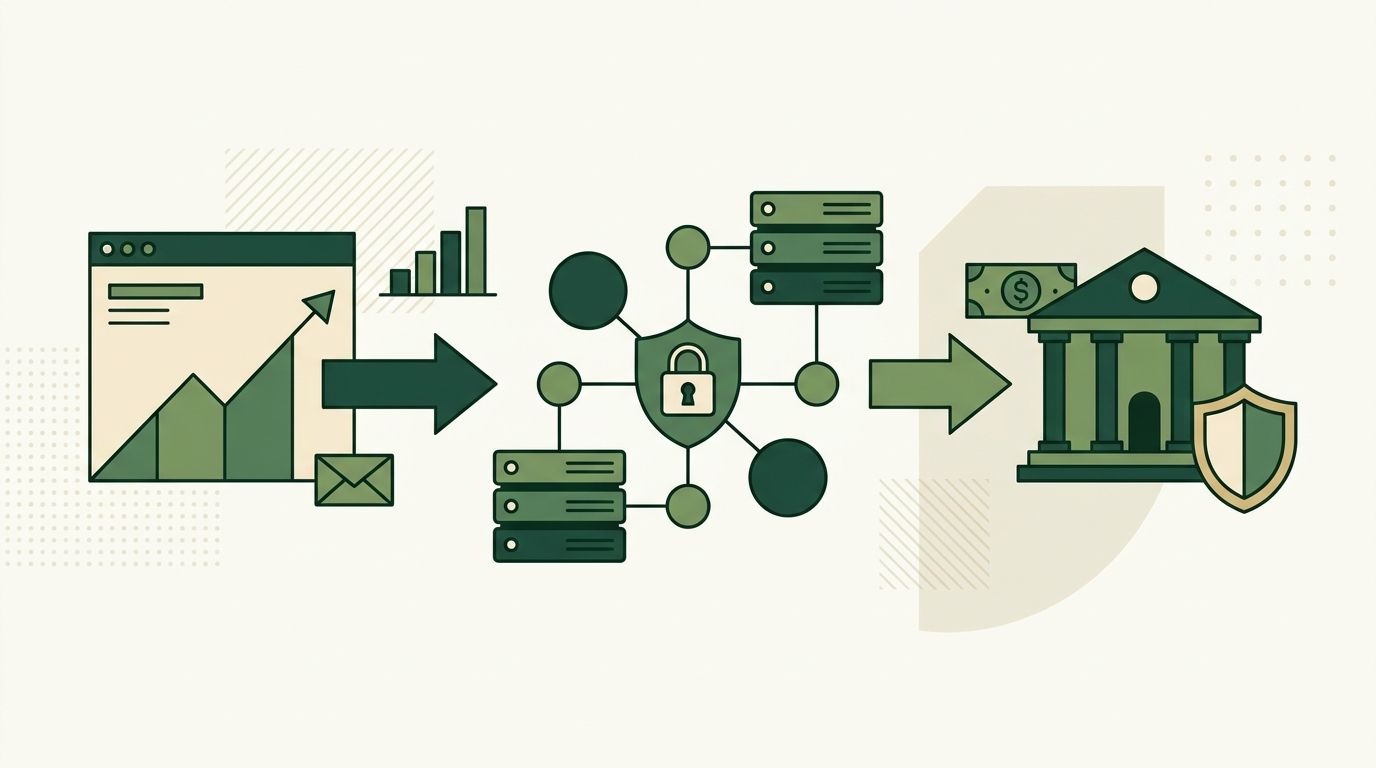
This TradingView webhook setup walks through exactly how to send a webhook from TradingView, step by step. A webhook is how an alert on your chart leaves TradingView and reaches another service: when your condition fires, TradingView sends an HTTP POST request to a URL you choose, carrying a message you define. On its own, a TradingView alert only notifies you — it does not place a trade. Sending a webhook is the first concrete step toward hands-off automation. Below, you'll configure the alert, point it at a destination, write a clean payload, and confirm it works before relying on it.
If you also want that webhook to actually place orders on an exchange, see the broader TradingView webhook to exchange guide, which covers the receiving side end to end.
From a chart, click the Alert button (the clock-with-plus icon) in the top toolbar, or right-click the chart and choose Add alert. You can attach an alert to a strategy, an indicator condition, or a simple price level. The same webhook mechanics apply regardless of what triggers the alert.
In the Condition section, choose what fires the alert. If you're alerting from a strategy or a Pine Script study, select it here and pick the specific signal. Set the trigger frequency — Once Per Bar Close is the common choice for automation, because it avoids firing repeatedly on an unconfirmed, still-moving candle.
Scroll to the Notifications tab of the alert dialog. Check Webhook URL and paste your destination address into the field. From this point on, every time the alert condition is met, TradingView will POST the alert message to that URL. Only one webhook URL is allowed per alert, so each alert sends to exactly one destination.
The Message box is the body of the request TradingView sends. For automation, write a structured, machine-readable message — typically JSON — rather than a sentence meant for a human. A clear payload usually names the trading pair, the action, the order type, and the size. For example:
          {
  "pair": "BTCUSDT",
  "action": "buy",
  "type": "market",
  "size": "0.01"
}
TradingView also supports placeholders that inject live values into the message at fire time, such as {{ticker}}, {{close}}, {{strategy.order.action}}, and {{timenow}}. These let one alert produce an accurate payload for whatever the market is doing when it triggers. Keep the structure identical across all your alerts so the receiver parses every message the same way. For ready-to-use templates, see the TradingView alert message format guide.
Give the alert a recognizable name, set an expiration if you want one, and click Create. To verify it sends, either wait for a natural trigger or temporarily set a condition you know will fire soon, then confirm the destination received the POST. If you're routing to a real execution layer, start with a very small size and check that what arrives matches what you intended — correct pair, correct side, correct quantity — before you rely on it.
Sending the webhook is the easy half — signals are easy; execution is hard. The reliable part is everything after the request lands: validating the message, formatting a correct order, deduplicating retries, and routing to your exchange. SignalToExchange is a non-custodial execution layer for that job: it uses a trade-only API key that can place orders but never withdraw, so your funds stay on your own exchange and the worst case is bounded to an unwanted trade rather than a lost balance. If you trade on Bybit, the Bybit automation guide shows the receiving side in context.
Once your alert is firing a clean payload to a destination you trust, your strategy can run hands-free while you stay in control of your keys and your funds. When you're ready to connect your TradingView webhooks to a secure, non-custodial execution layer, request access / start your free trial →
Automated trading involves risk. SignalToExchange is execution infrastructure and does not provide financial advice, trading signals, or guarantees of any kind. You control your strategy and your keys.
If you run a DCA strategy, TradingView webhook alerts can execute it for you so you are not logging in to place the same buy over and over. Dollar-cost averagi...
A trailing stop is one of the most requested features in TradingView webhook automation, and also one of the easiest to get wrong. The idea is simple: as price...
Most automation guides focus on how to open a trade. Far fewer explain how to cancel an open order using a TradingView webhook, and that gap causes real proble...
Non-custodial execution. Trade-only API keys. Independent infrastructure built for reliability.
Request Early AccessTrade-only API key enforcement. No withdrawal permissions. No custody.